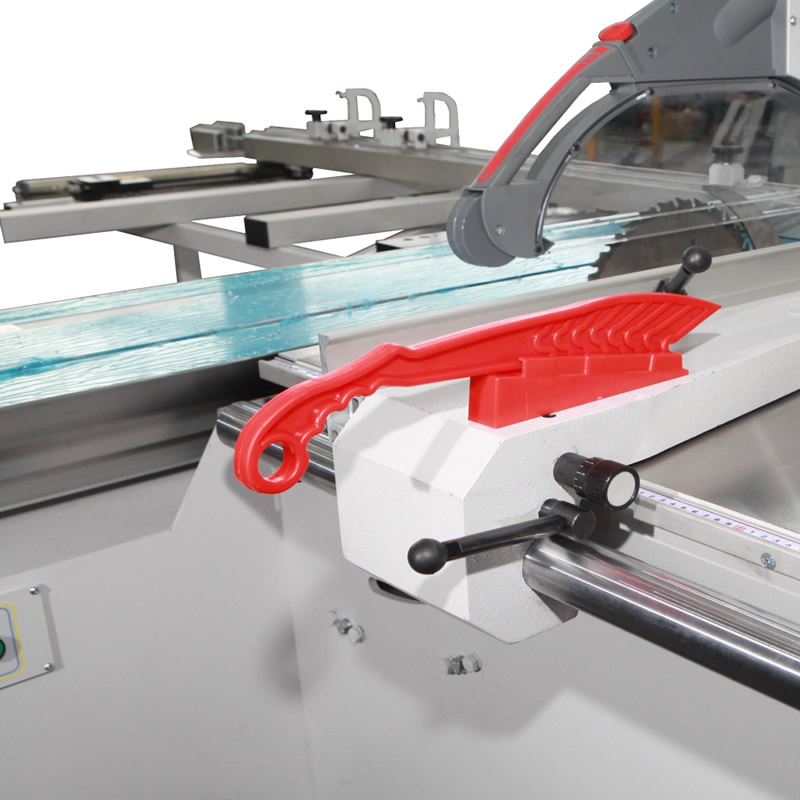
Adjustment is easy:
- ✅ Loosen the vertical bolt holding the sliding table to the frame at the end you have decided to move (BOLT IN MIDDLE OF SLIDING TABLE - MUST ALSO BE LOOSENED!);
- ✅ Loosen the nuts on the tie bolts at both ends;
- ✅ Adjust using the stop bolt at the end you have loosened;
- ✅ Retighten nuts on tie bolts, vertical bolt and middle bolt;
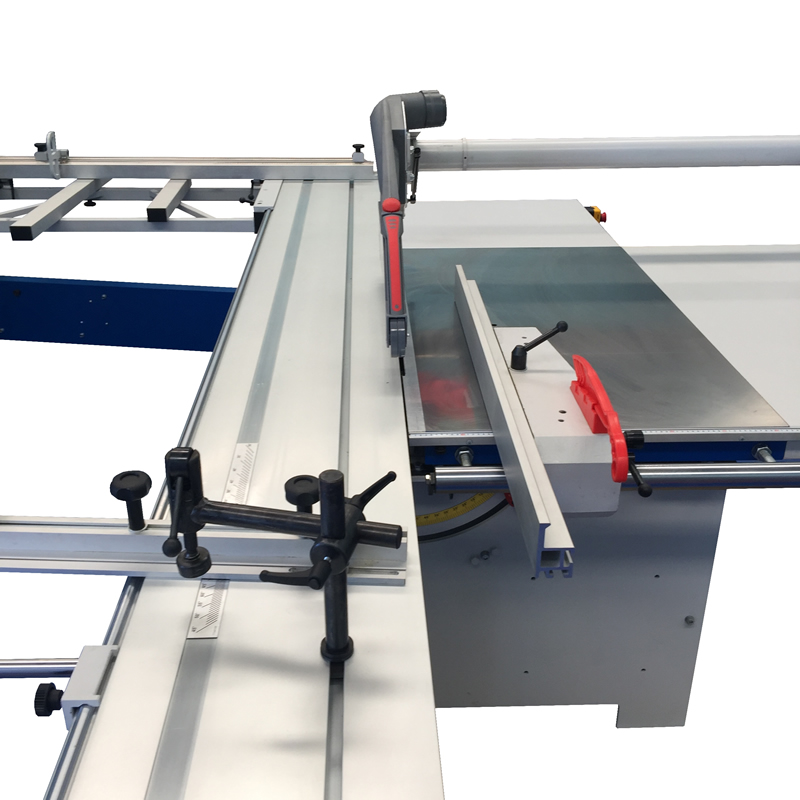
- ✅ Raise the sawblade to its maximum height;
- ✅ Retighten nuts on tie bolts, vertical bolt and middle bolt;
But without a dial indicator in your pocket, how do you know when the free cut is correct?
You listen to it.
- ✅ Raise the sawblade to its maximum height;
- ✅ Take a workpiece of, say, 600mm long with the cross section, roughly, of a cigarette packet;
- ✅ Lay this up against the crosscut fence and cut. Hold the workpiece firmly after the front teeth have cut and carry on past the back teeth;
- ✅ Listen to the noise from the front teeth and compare with the noise from the back teeth;
- ✅ As the workpiece passes the back teeth, you should feel rather than hear a slight flutter or whisper.
NOTE: If sub rollers are not correctly set, the carriage can be pulled slightly into or away from the sawblade by a roller which is too tight, and the listening test for free cut will give a false result. If squaring accuracy is tested before the free cut is correctly set, too much or too little free cut will also give a false reading.